Showing posts with label drywall. Show all posts

Tuesday, July 10, 2007

Another step closer (but not too close) 7/8/2007

Now that the water heater has been installed, we can finish the counter top run. The plan was to have the counter span the entire wall length and cover the water heater. We need to keep an access panel for the plumbing, so we decided to skip the drywall and construct shelves of plywood instead.


The counter is formed from 3/4" plywood with white 4x4 ceramic tiles. My job is to cut the plywood, level the counter and install it. CMV taught AMV the finer points of laying tile.


The tiles need to set up and then we can grout the counter. We will also need to rent a wet saw so we can cut all of the tile to fit around outlets and switches. The next step is to fit the plywood panel on the wall. We did not secure it to the wall, because we need to complete the tile on the countertop to ensure that the wall piece will remain removable.


Wednesday, April 04, 2007

Everything Needs Support

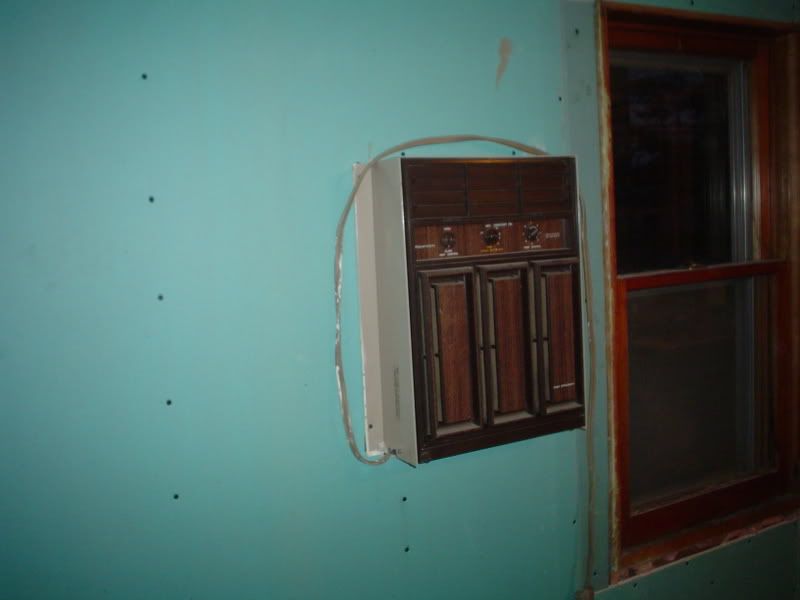
As has happened with many of the projects we have undertaken, the removal of the air conditioner was not as easy as it should have been. The unit was supported by a frame constructed from 1" x 6" boards, and those boards were supported by virtually nothing. I removed the old boards and framed in a new structure that should keep the air conditioner from moving around.

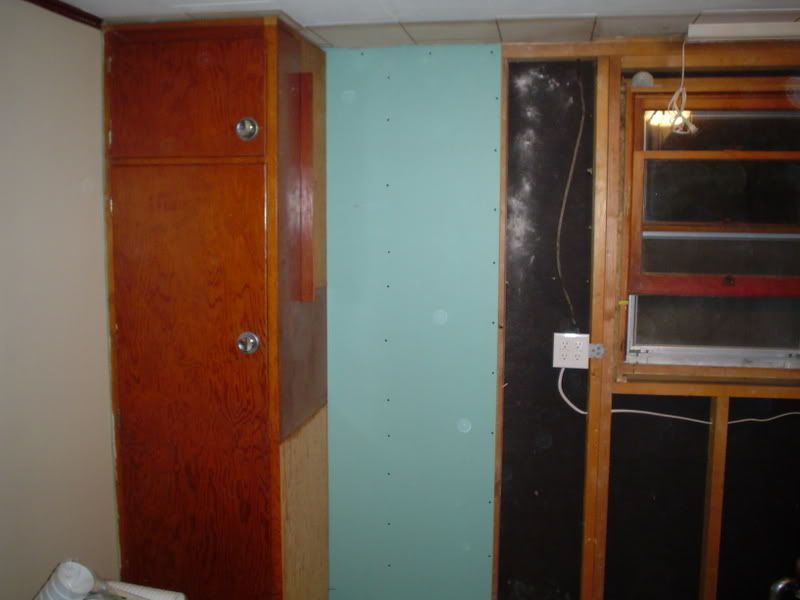
With the AC unit out and the support structure in, we hung a sheet of drywall and secured the unit.


We only had the time to hang one more sheet of drywall before it was time to clean up and go home. I re-installed to propane gas shut-off and replaced the outlet cover.


Time for an update.

It had been quite some time since my last update on the progress of the cottage. I apologize for the large gap between posts, but I did not want to have post after post entitled "more about walls" and "even more about walls".

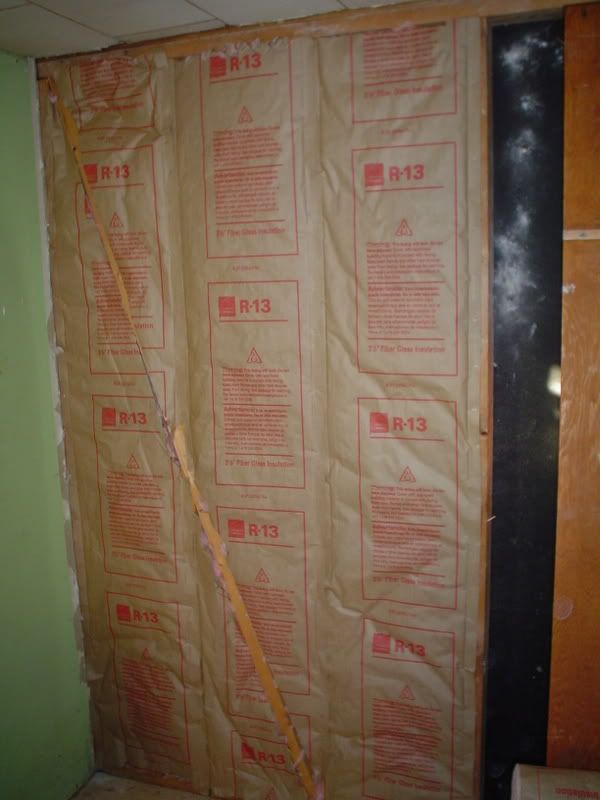
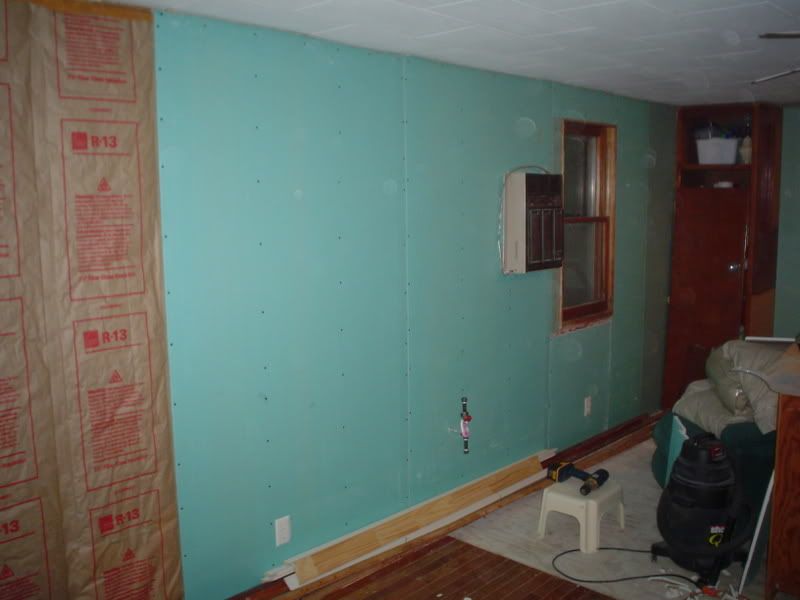
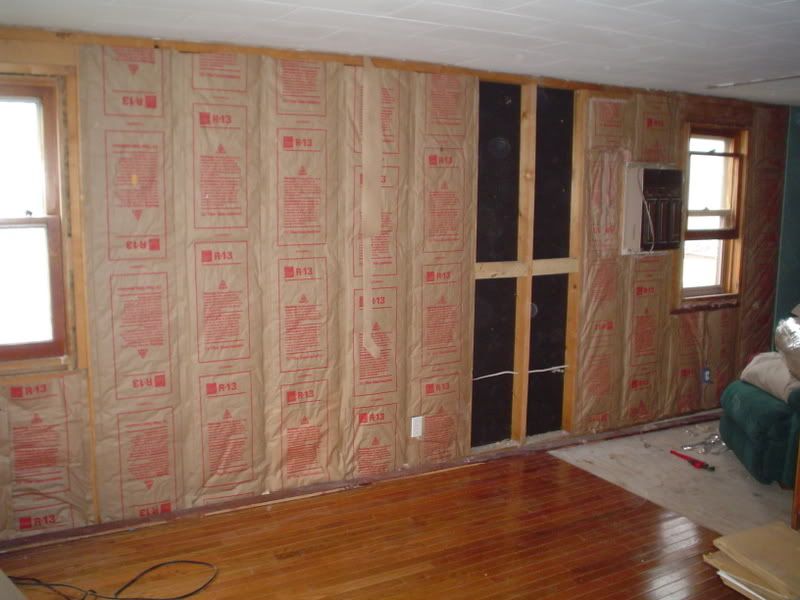
It is now the beginning of April, and we are still working on the walls. We have finished the removal of the old drywall, and the fiberboard insulation that was on the outer walls. Seizing the opportunity, I replaced all of the older style wire and added new outlets, switches, and breakers. The new insulation is in place and we are in the process of hanging the drywall.


This picture shows the west wall of the house. we had just disconnected the propane and removed the wall mounted heater. In the next step, we added the insulation in the wall section that was behind the heater, and removed the air conditioner.

Monday, December 18, 2006

Day Trip 12/16

I left Indianapolis about 10:30 and walked into the cottage a little before 1:00 on Saturday. We (CMV and I) made a decision to eventually remove all of the drywall in the house. The exterior walls are moldy, damp and poorly insulated, and the interior walls are not much better. I want as much of this completed before springtime comes, so I decided to remove the rest of the drywall in the bedroom.

I first removed the remaining pieces of trim molding and set them aside to take with me when I return home. I next, removed the electrical outlets and fixtures and pulled the carpet out of the room. Lastly, I went at the drywall with the pry bar and a hammer. My goal was to get as much drywall out of the house as I could and still leave that night. In the end, I cleared the remaining four room surfaces, and one wall in the other bedroom.


Once the bedrooms are stripped of drywall, we can make any necessary repairs and add insulation to the outer walls. We will also be able to hang the drywall because there will not be any need for plumber access.

In the wall cavity, I found a large abandoned wasps nest. I was very thankful it was not active, as I disturbed it quite a bit while pulling on the old drywall. If it had been active, I would have suffered from the encounter.

Little Jobs 12/09

This weekend, my friend JSE and I went up to the cottage on Friday night. We didn't expect to get much done that night, but wanted to be there in the morning to get working.


We went up without an agenda, and did not know what we were going to get accomplished. The first task we decided to tackle was to rebuild the corner cabinet in the kitchen. In order to do this, we first needed to buy a roll of insulation and a sheet of drywall. The rest of the kitchen drywall will wait for the plumber to install the pipes in the spring.


With the Insulation cut and in place, we hung the drywall and secured it in place with screws. The cabinet was rebuilt and attached to the wall. In order to clear up some space, we moved all of the cabinets back into the kitchen and set them in their approximate final location.


It was now time to repair the frame on the bathroom/ bedroom border wall. Two studs were removed and replaced, as well as a section of the bottom plate. There was no way to remove the studs without damaging the drywall on the bedroom side of the wall, so we completely removed it ahead of time. After cleaning up the pieces of drywall and almost filling the back of the truck, we could finally repair the wall section.


CMV requested that we bring her as many pieces of trim that we could, so she can work on them over the winter. I removed and labeled them (to ease the re-installation) and loaded them into the truck.

Back to the Bathroom 11/25

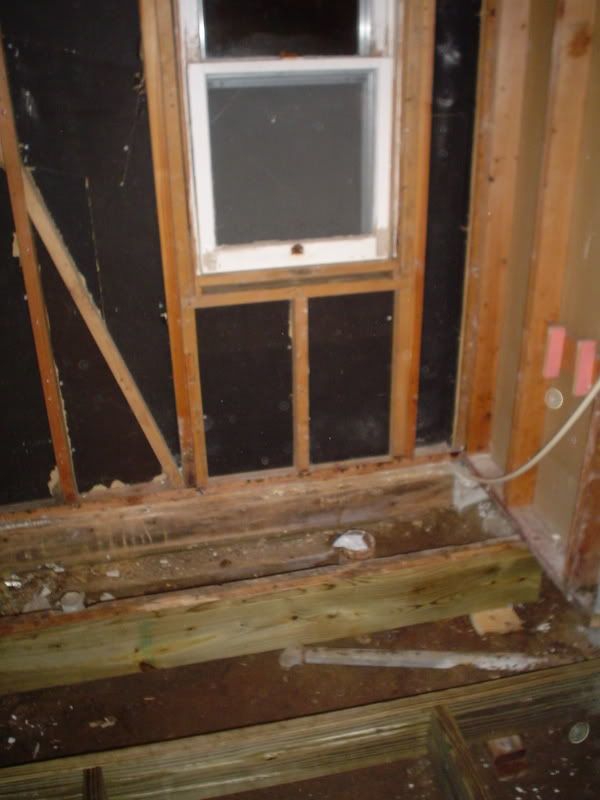
This weekend, we removed the balance of the drywall in the bathroom. We also decided to pull up the old floor to level it with the concrete slab that leads to the bedrooms. When we pulled the floor boards, we were treated to a nice surprise.

The floor had been repaired at some point, and someone decided it would be a good idea to replace the joists with 2x4 and some 2x6 boards. These boards were held up with concrete blocks and scrap 2x4 pieces. Trying to figure out a solution to this situation had us puzzled.

Once we settled on a course of action, we got to work. The task took more time than our weekend allowed, so we were forced to leave a large hole in the house.


Wednesday, November 22, 2006

Drywall

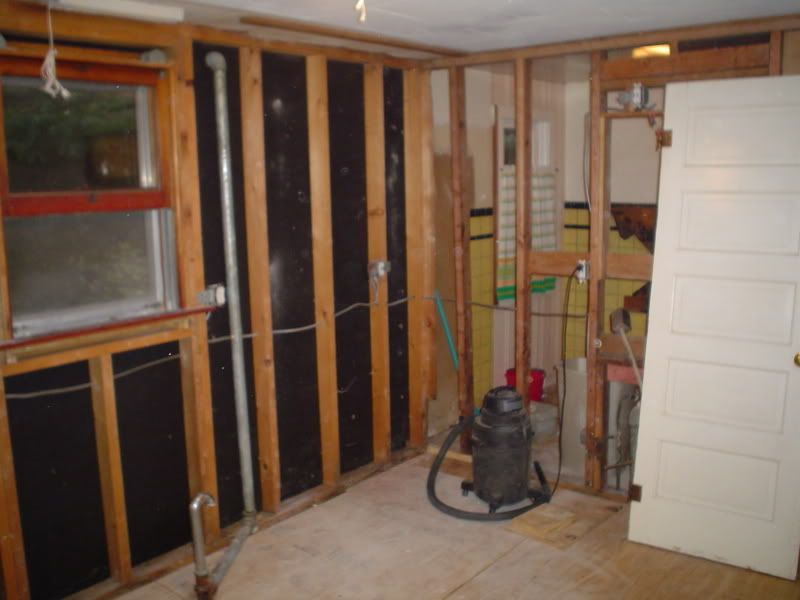
As I said in the last post, we removed the drywall on the walls between the kitchen and the bathroom, and the cabinet wall in the kitchen. This accomplished two things; it made the job of removing the linoleum wall covering much easier, and it opened the wall to allow access for the plumbing installation next spring. If time allows, I may replace the electrical wiring in this part of the house since it is in the open.


Along with the drywall, we removed the bathroom sink, and the toilet. The bathroom is now ready for a tear out and replacement of the floor. The idea is to make it the same level as the rest of the house, as it is higher than the concrete slab.